Keurig K-Elite Review: The Sensible Single-Serve Buy
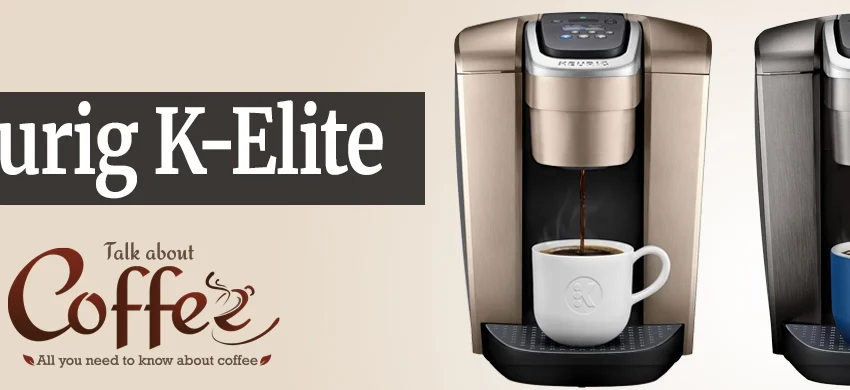
Quick verdict The Keurig K-Elite is the K-Cup machine to buy if you want strong brew, iced coffee, hot water on demand, and a large...
Continue Reading...